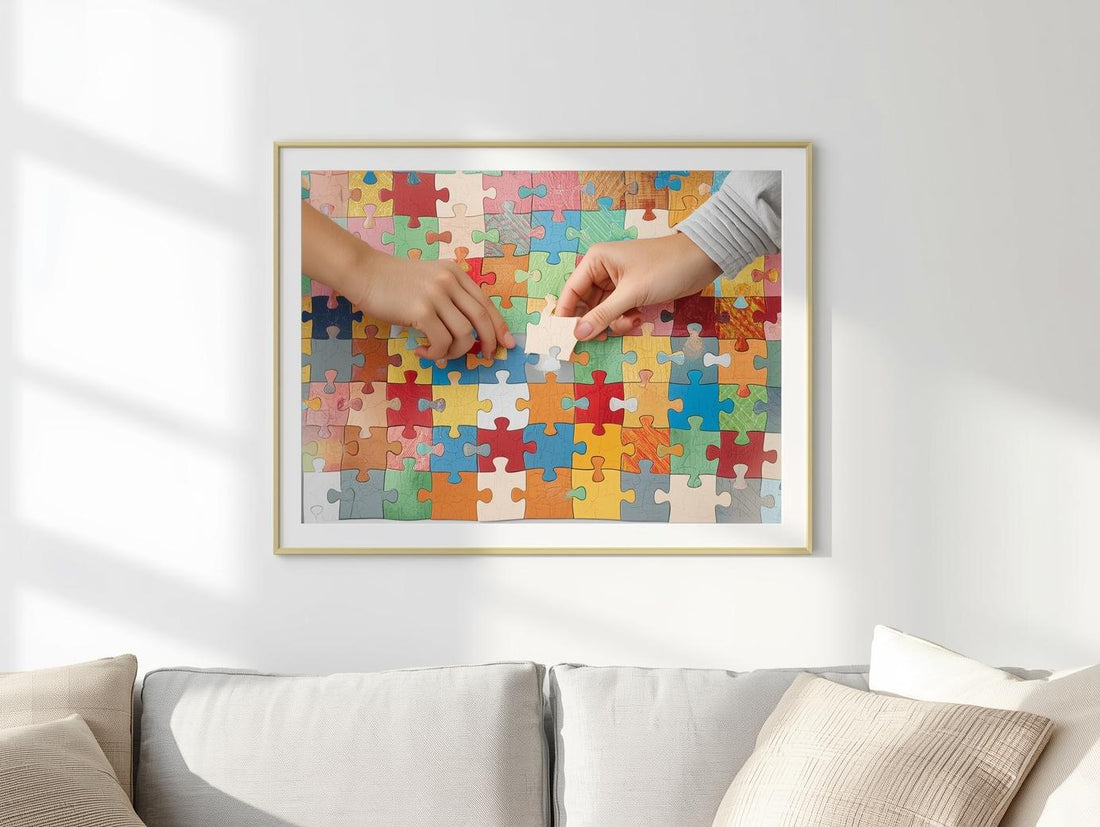
How to Frame Your Finished Puzzle Like a Pro
You’ve done it—hours of focus, hundreds (or thousands!) of tiny pieces, and now your masterpiece is complete. Instead of disassembling your work and packing it away, why not turn your puzzle into a beautiful piece of art? Framing a jigsaw puzzle is easier than you think, and it’s a fantastic way to display your hard work.
Step 1: Choose the Right Surface
Before you begin preserving your finished puzzle, make sure you have a solid, flat surface to work on. Gently slide your completed puzzle onto a smooth base—something sturdy enough to hold it without bending or letting the pieces shift.
A large piece of cardboard or foam board works perfectly for this step. Cardboard is lightweight and affordable, while foam board gives you a firmer, more professional surface—great if you plan to mount or frame your puzzle later. Take your time and move slowly; even a small bump can cause pieces to separate.
Step 2: Secure the Pieces
Now that your puzzle is fully assembled, it’s time to make sure it stays that way! To turn it from a collection of loose pieces into a solid display piece, you’ll need to apply some form of adhesive.
The most popular choice is puzzle glue, which is specially made for this purpose. Using a sponge brush or foam applicator, gently spread a thin, even layer of glue over the entire surface of the puzzle. Be sure to cover every edge and corner, as this will help seal the pieces together and give the puzzle a glossy, finished look. Let it dry completely—this usually takes about 2 to 4 hours, though drying time can vary depending on humidity and the brand of glue. Once it’s dry, your puzzle should feel like a single, sturdy piece that’s ready for framing or hanging.
Pro Tip: Avoid using regular school glue or spray adhesive. These can soak into the cardboard backing and cause warping, bubbling, or discoloration that can ruin all your hard work.
If you’d prefer not to use liquid glue, there are a few other options worth considering:
- Puzzle Saver Sheets or Adhesive Sheets: These are clear, sticky sheets that you press onto the back of the puzzle. They hold the pieces firmly together without any mess, and there’s no drying time required. They’re great if you want a cleaner, quicker solution.
- Clear Contact Paper: A budget-friendly alternative to adhesive sheets, clear contact paper can work in a pinch. Just apply it to the back of the puzzle to keep the pieces together. Be sure to smooth it out to remove any air bubbles.
- Mod Podge for Puzzles: Similar to traditional puzzle glue, Mod Podge offers a protective finish but comes in different sheens (matte, glossy, satin). It also tends to dry with a more professional-looking surface.
- Lamination Film (for extra protection): Some puzzle enthusiasts use a thin lamination film after gluing for added durability, especially if the puzzle will be handled or moved often.
Each method has its perks—puzzle glue gives a sleek, sealed look; adhesive sheets are mess-free and fast; and contact paper or Mod Podge are versatile and widely available. Choose the one that best fits your style and how you plan to display your masterpiece.
Step 3: Pick a Frame
Once your puzzle is complete and secured, it’s time to give it the final touch—a frame that truly showcases your hard work. Start by carefully measuring your puzzle to determine the exact dimensions. Many standard puzzle sizes fit nicely into ready-made poster frames, which can be found at most craft or home décor stores. However, if your puzzle has an unusual shape or size, you may want to invest in a custom frame to ensure a perfect fit.
When choosing your frame, think about how it will complement the puzzle’s overall look. A sleek black or white frame can give modern artwork a clean, gallery-style finish, while a wooden or rustic frame might enhance warm, natural tones or vintage-style puzzles.
And here’s a helpful tip: if you’ve glued your puzzle, you don’t need to worry about adding glass—the adhesive will keep everything in place while allowing the texture and detail of the puzzle to shine through.
Step 4: Mount It
Once your puzzle is completely dry, it’s time to give it a proper display. Carefully flip the puzzle over so the back side is facing up. Apply double-sided tape or mounting squares evenly across the back—this will help keep it securely in place once framed. When you’re ready, gently press the puzzle onto the frame’s backing board, making sure it’s centered and aligned just right.
If your puzzle happens to be a bit thick or has uneven pieces, consider leaving out the glass from the frame. This prevents any unwanted pressure that could cause the puzzle pieces to bend or shift over time, keeping your finished masterpiece looking smooth and well-preserved.
Step 5: Hang and Admire
Now that your puzzle is framed and ready, it’s time to give it the spotlight it deserves! Choose a well-lit spot on your wall—somewhere it can truly shine but won’t be exposed to direct sunlight or humidity, which can fade the colors or damage the frame over time. Use sturdy hanging hardware to make sure it stays secure and level.
Step back and take it all in—what was once a tabletop challenge has now become a stunning piece of wall art! It’s a beautiful reminder of your patience, focus, and creativity every time you walk by.
Conclusion: Why Frame?
Framing a puzzle is more than a decoration—it’s a memory. Maybe it was a rainy weekend project, a travel-themed design from your dream vacation, or a bonding moment with loved ones. Displaying it is a way to remember the joy behind the build.
So next time you finish a puzzle and feel a little too proud to box it up, don’t! Frame it like a pro and give your hard work a permanent home.
Discover unique, beautiful, and one-of-a-kind puzzles at The Puzzle Chest, where every puzzle is a treasure waiting to be discovered.
👉 Shop Now and Find Your Next Puzzle Adventure!
Until next time—stay curious, stay cozy, and keep puzzling!
– The Puzzle Chest Team